
by Tyson Boyd - Vegan Kimchi
HOMEMADE VEGAN KIMCHI - Kimchi is a fascinating Korean staple that I have had an interest in since my first encounter. My good friend Davin shoved a jar in my face many years ago when we were rather hungover, and if hazy memory serves me correct – he was convincing me that it could help cure our then present ailment. It was a number of years from that point that I continued eating it out of sheer enjoyment without a lot of thought of how it was made, let alone any health benefits that it was providing without my knowledge. The history of kimchi is far too vast for this blog, but it is highly encouraged that you look into it even for just the synopsis. It was when I started hearing about the traditional fermenting process of burying kimchi in clay pots within the ground and leaving them for unheard of times that really peaked my interest! From there, reading the history and discovering this tasty fermented treat was also good for my gut and mental health.. Well I am now a devout follower of the spicy fermented leaf that is nappa cabbage. Please, I do encourage you if you are relatively unfamiliar - to read more about the history and benefits of this process – for now, let’s make some kimchi…
KIMCHI ABOUT ME
VEGAN KIMCHI
This recipe is ‘vegan’ for two reasons. When my wife and I owned the Tavern, we had a vegetarian dish that was based on kimchi. Our first test subject was a dear friend named Shiner. Shiner has been a lifelong vegetarian - so who better to test this out? I was startled when he took a bite and immediately spit it into his hand while saying wide eyed stepping backward … ‘what is that?’, it was not asked because he was impressed. After reading the ingredients the pre-made batch I had purchased in good faith it was a solid ingredient, I was pretty shocked that it was chalked full of shrimp paste and fish sauce! (Please remember I am writing this from a perspective of not being immersed within Korean culture at any point in my life prior, but having a unique interest). For this reason, I decided to make kimchi that Shiner could eat. The second reason this recipe is vegan, is because my wife who I love dearly says that kimchi ‘smells like failed marriage’. During the fermenting process, if you are not using shrimp paste or fish sauce you can get a nice ‘fresh’ tasting kimchi that doesn’t have the funk that makes your Ukrainian half mention the “D“ word. With red miso paste, a similarly glutamate-rich condiment thats readily available, you can get that umami flavour that is necessary for good kimchi.
NOTE: Kimchi will get more and more sour as it ages. It can be eaten immediately, but is optimal at around 3 weeks. It’s normal for the kimchi to produce lots of gas as its fermenting. Your jars lids may pop open when you open them and bubbles may appear in the liquid. Do not be alarmed.

INGREDIENTS:
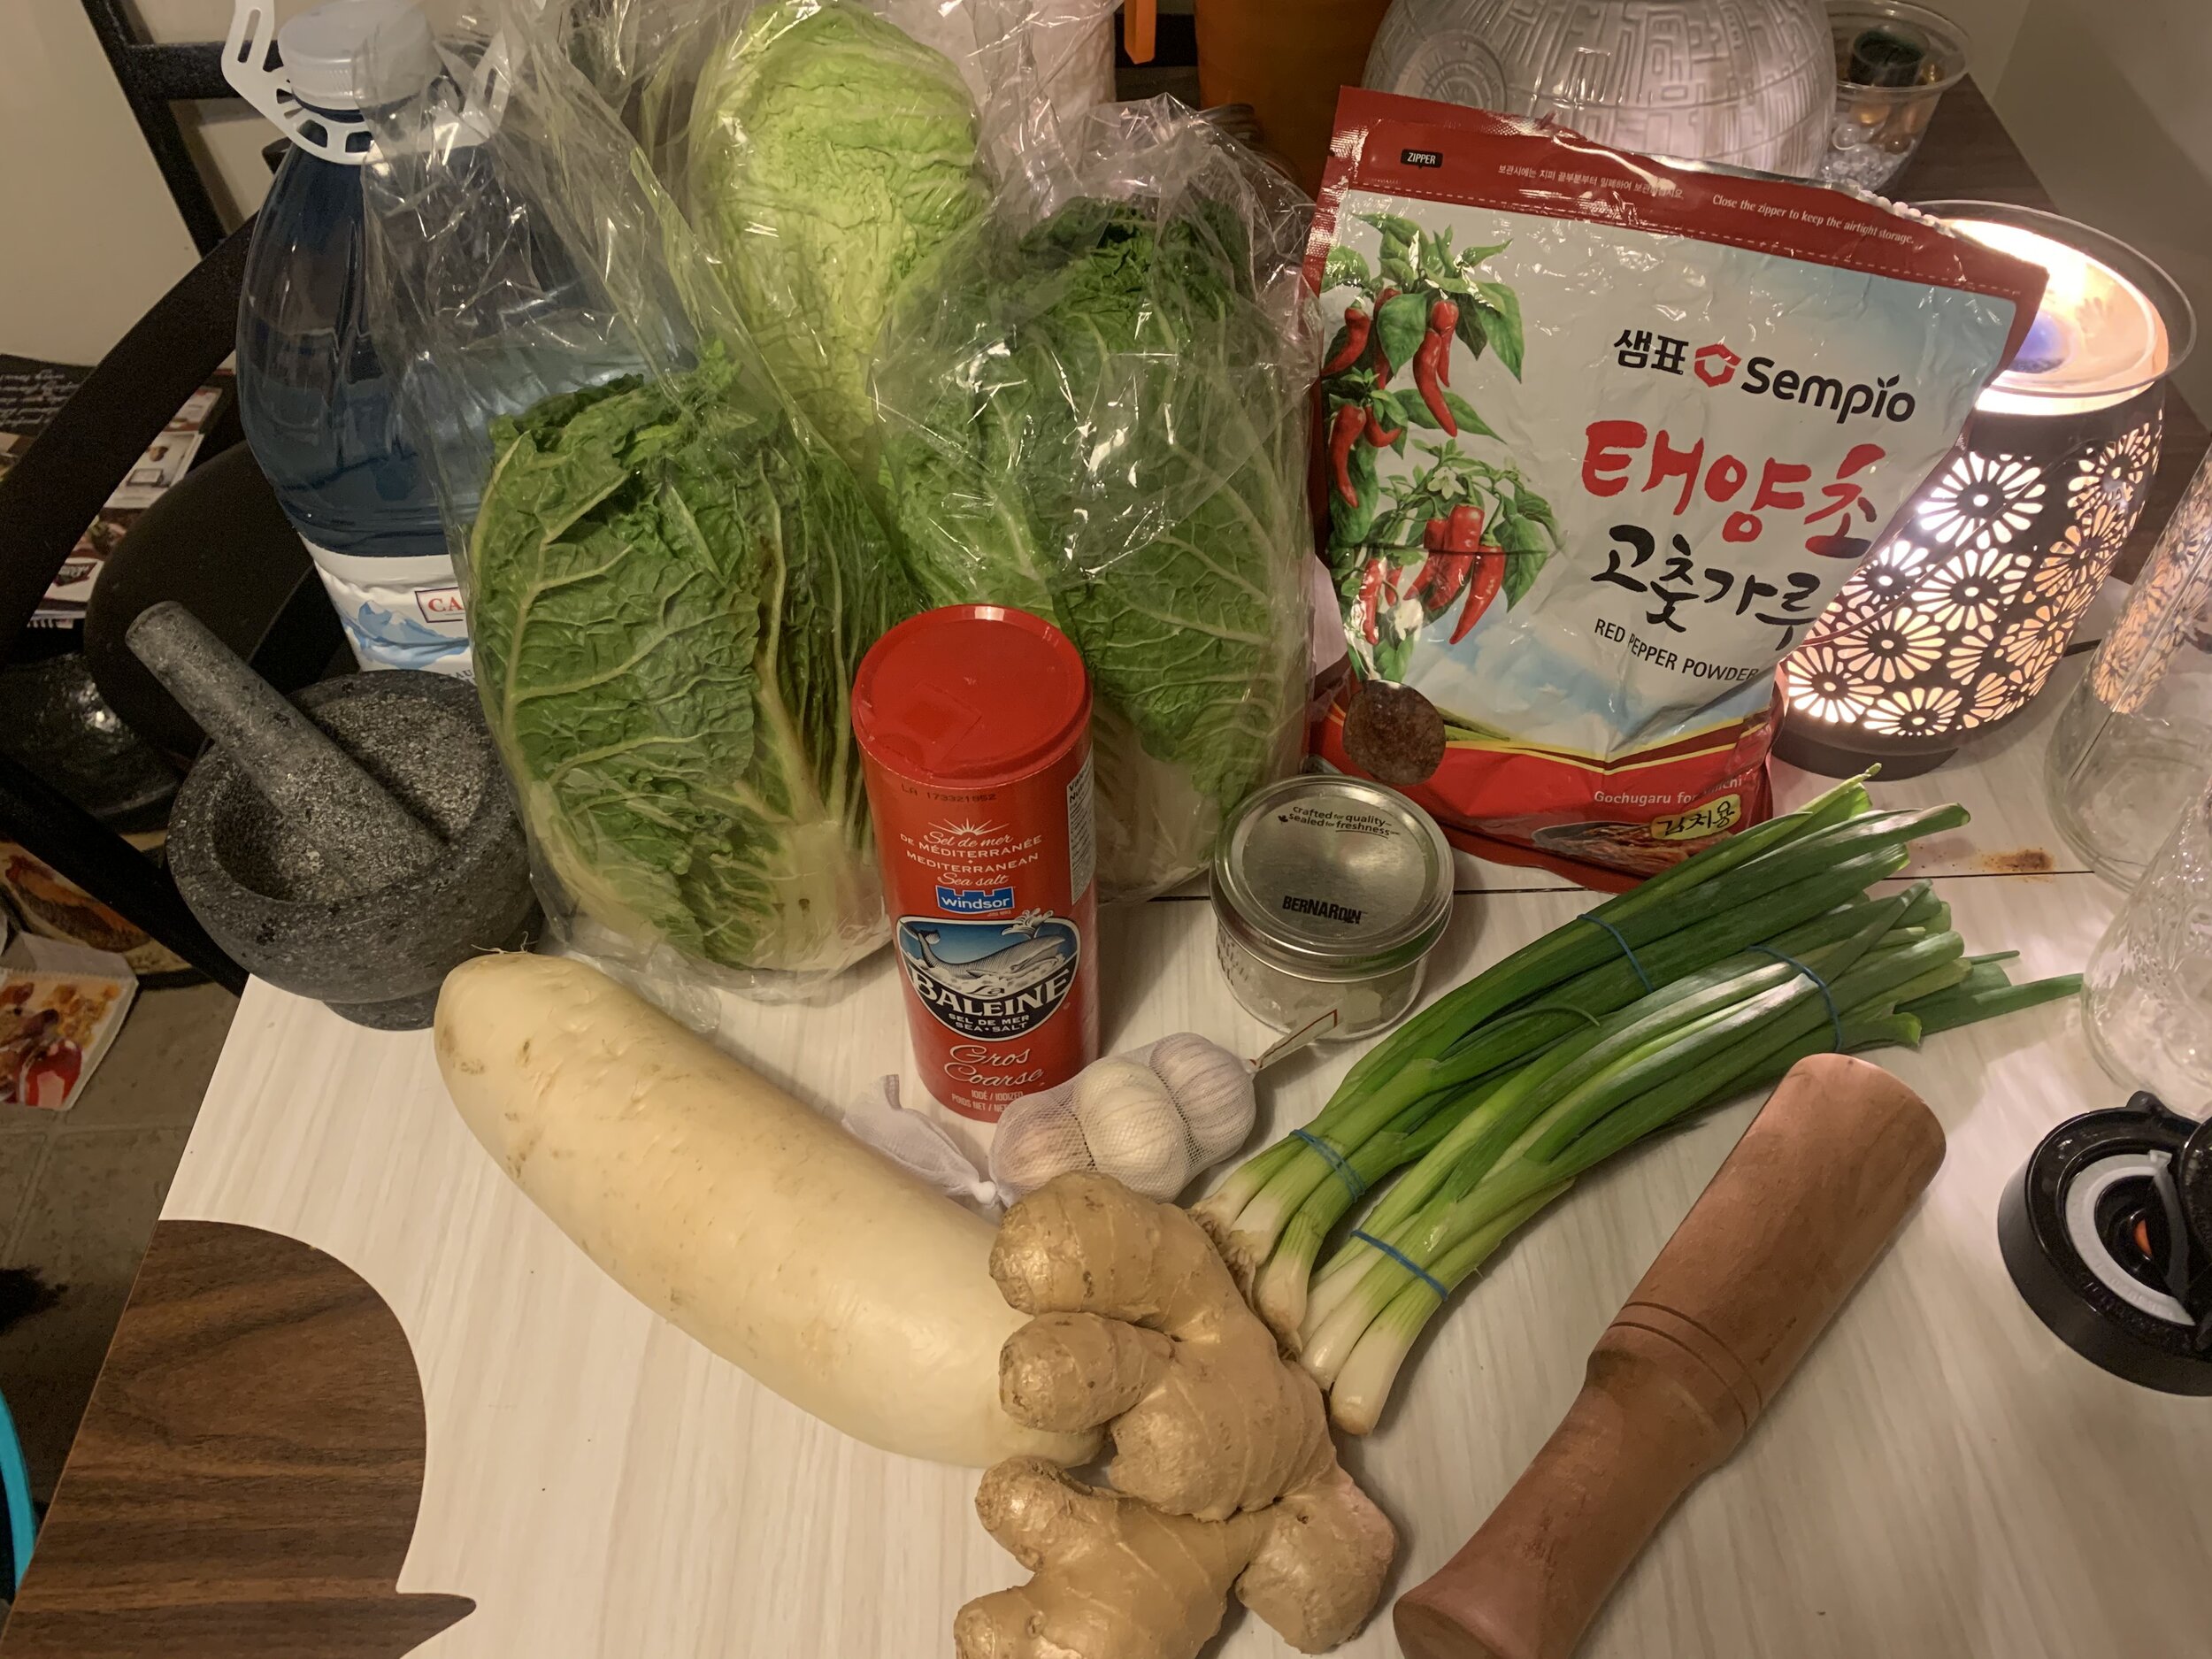
1 large head nappa cabbage, cored, quartered and coarsely chopped - about 1 pound total
1 small daikon radish (about 4 ounces)
8 scallions, greens roughly chopped, whites reserved separately
Sea salt
8 cloves garlic
One 2-inch knob ginger, peeled
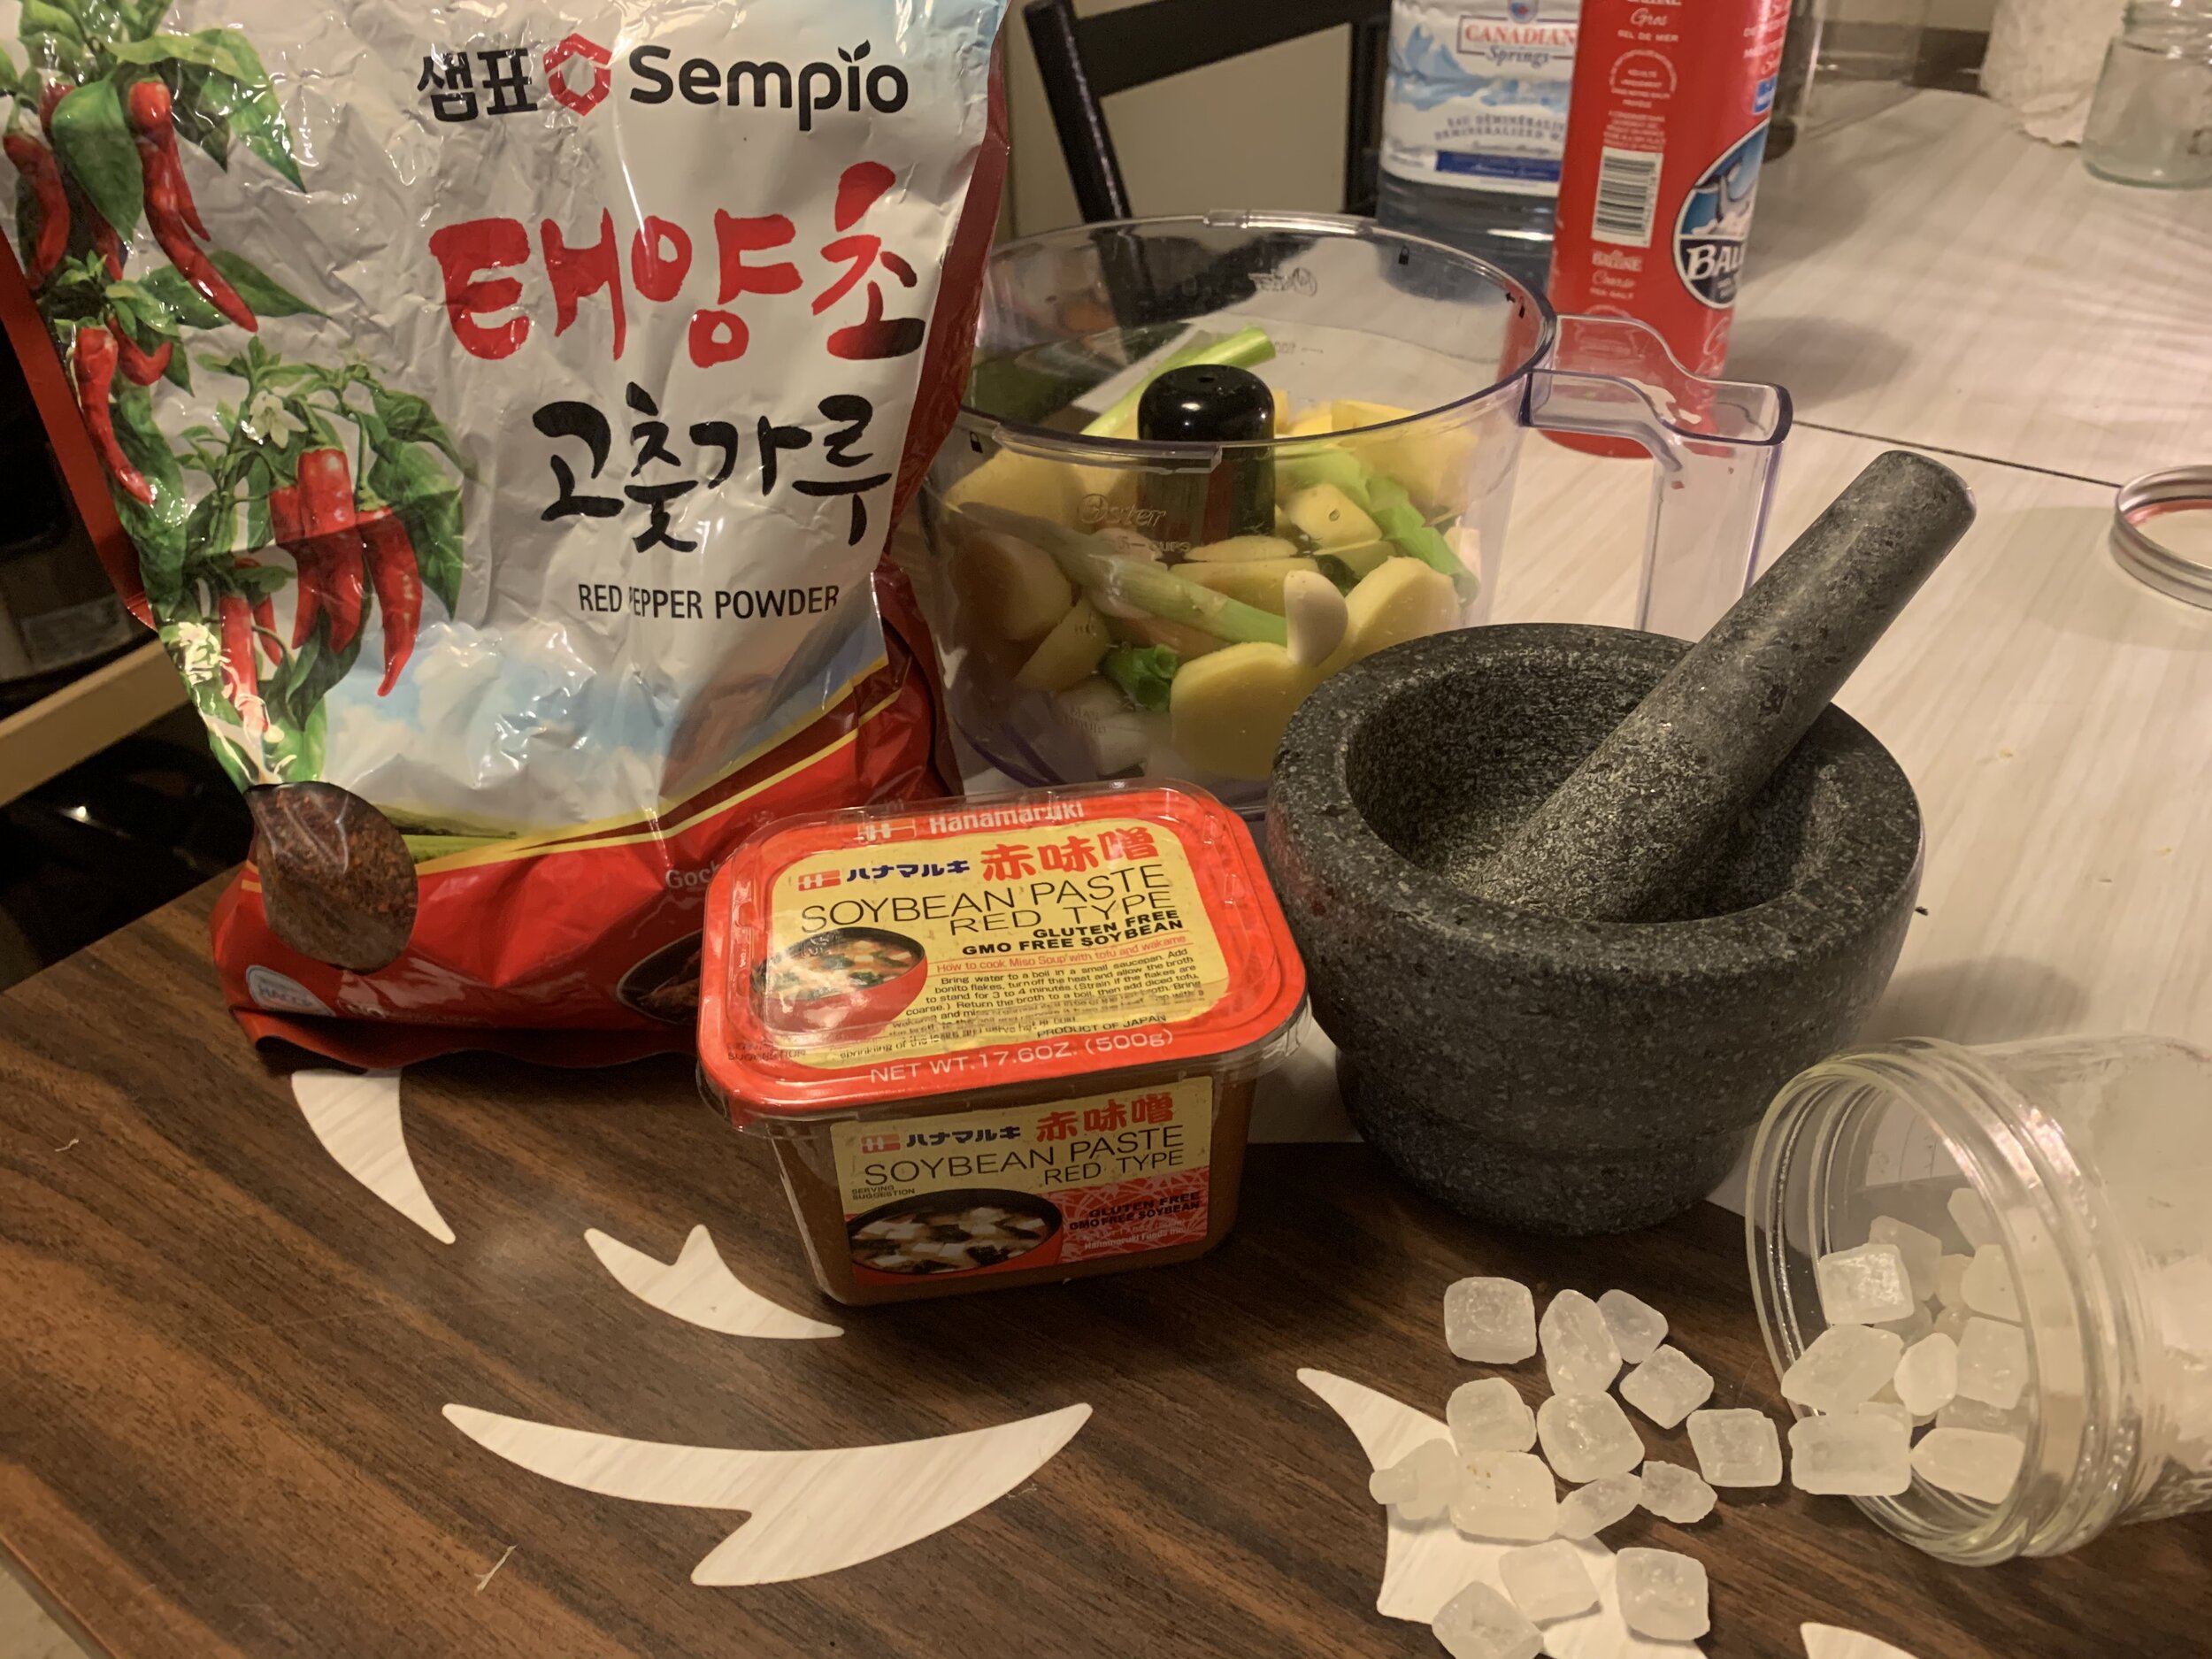
1/2 cup Korean chili powder (kochukaru)
2 tablespoons white or red miso paste
1 tablespoon sugar (use rock sugar for best results crushed with mortar & pestle)
1 cup of demineralized water
DIRECTIONS:
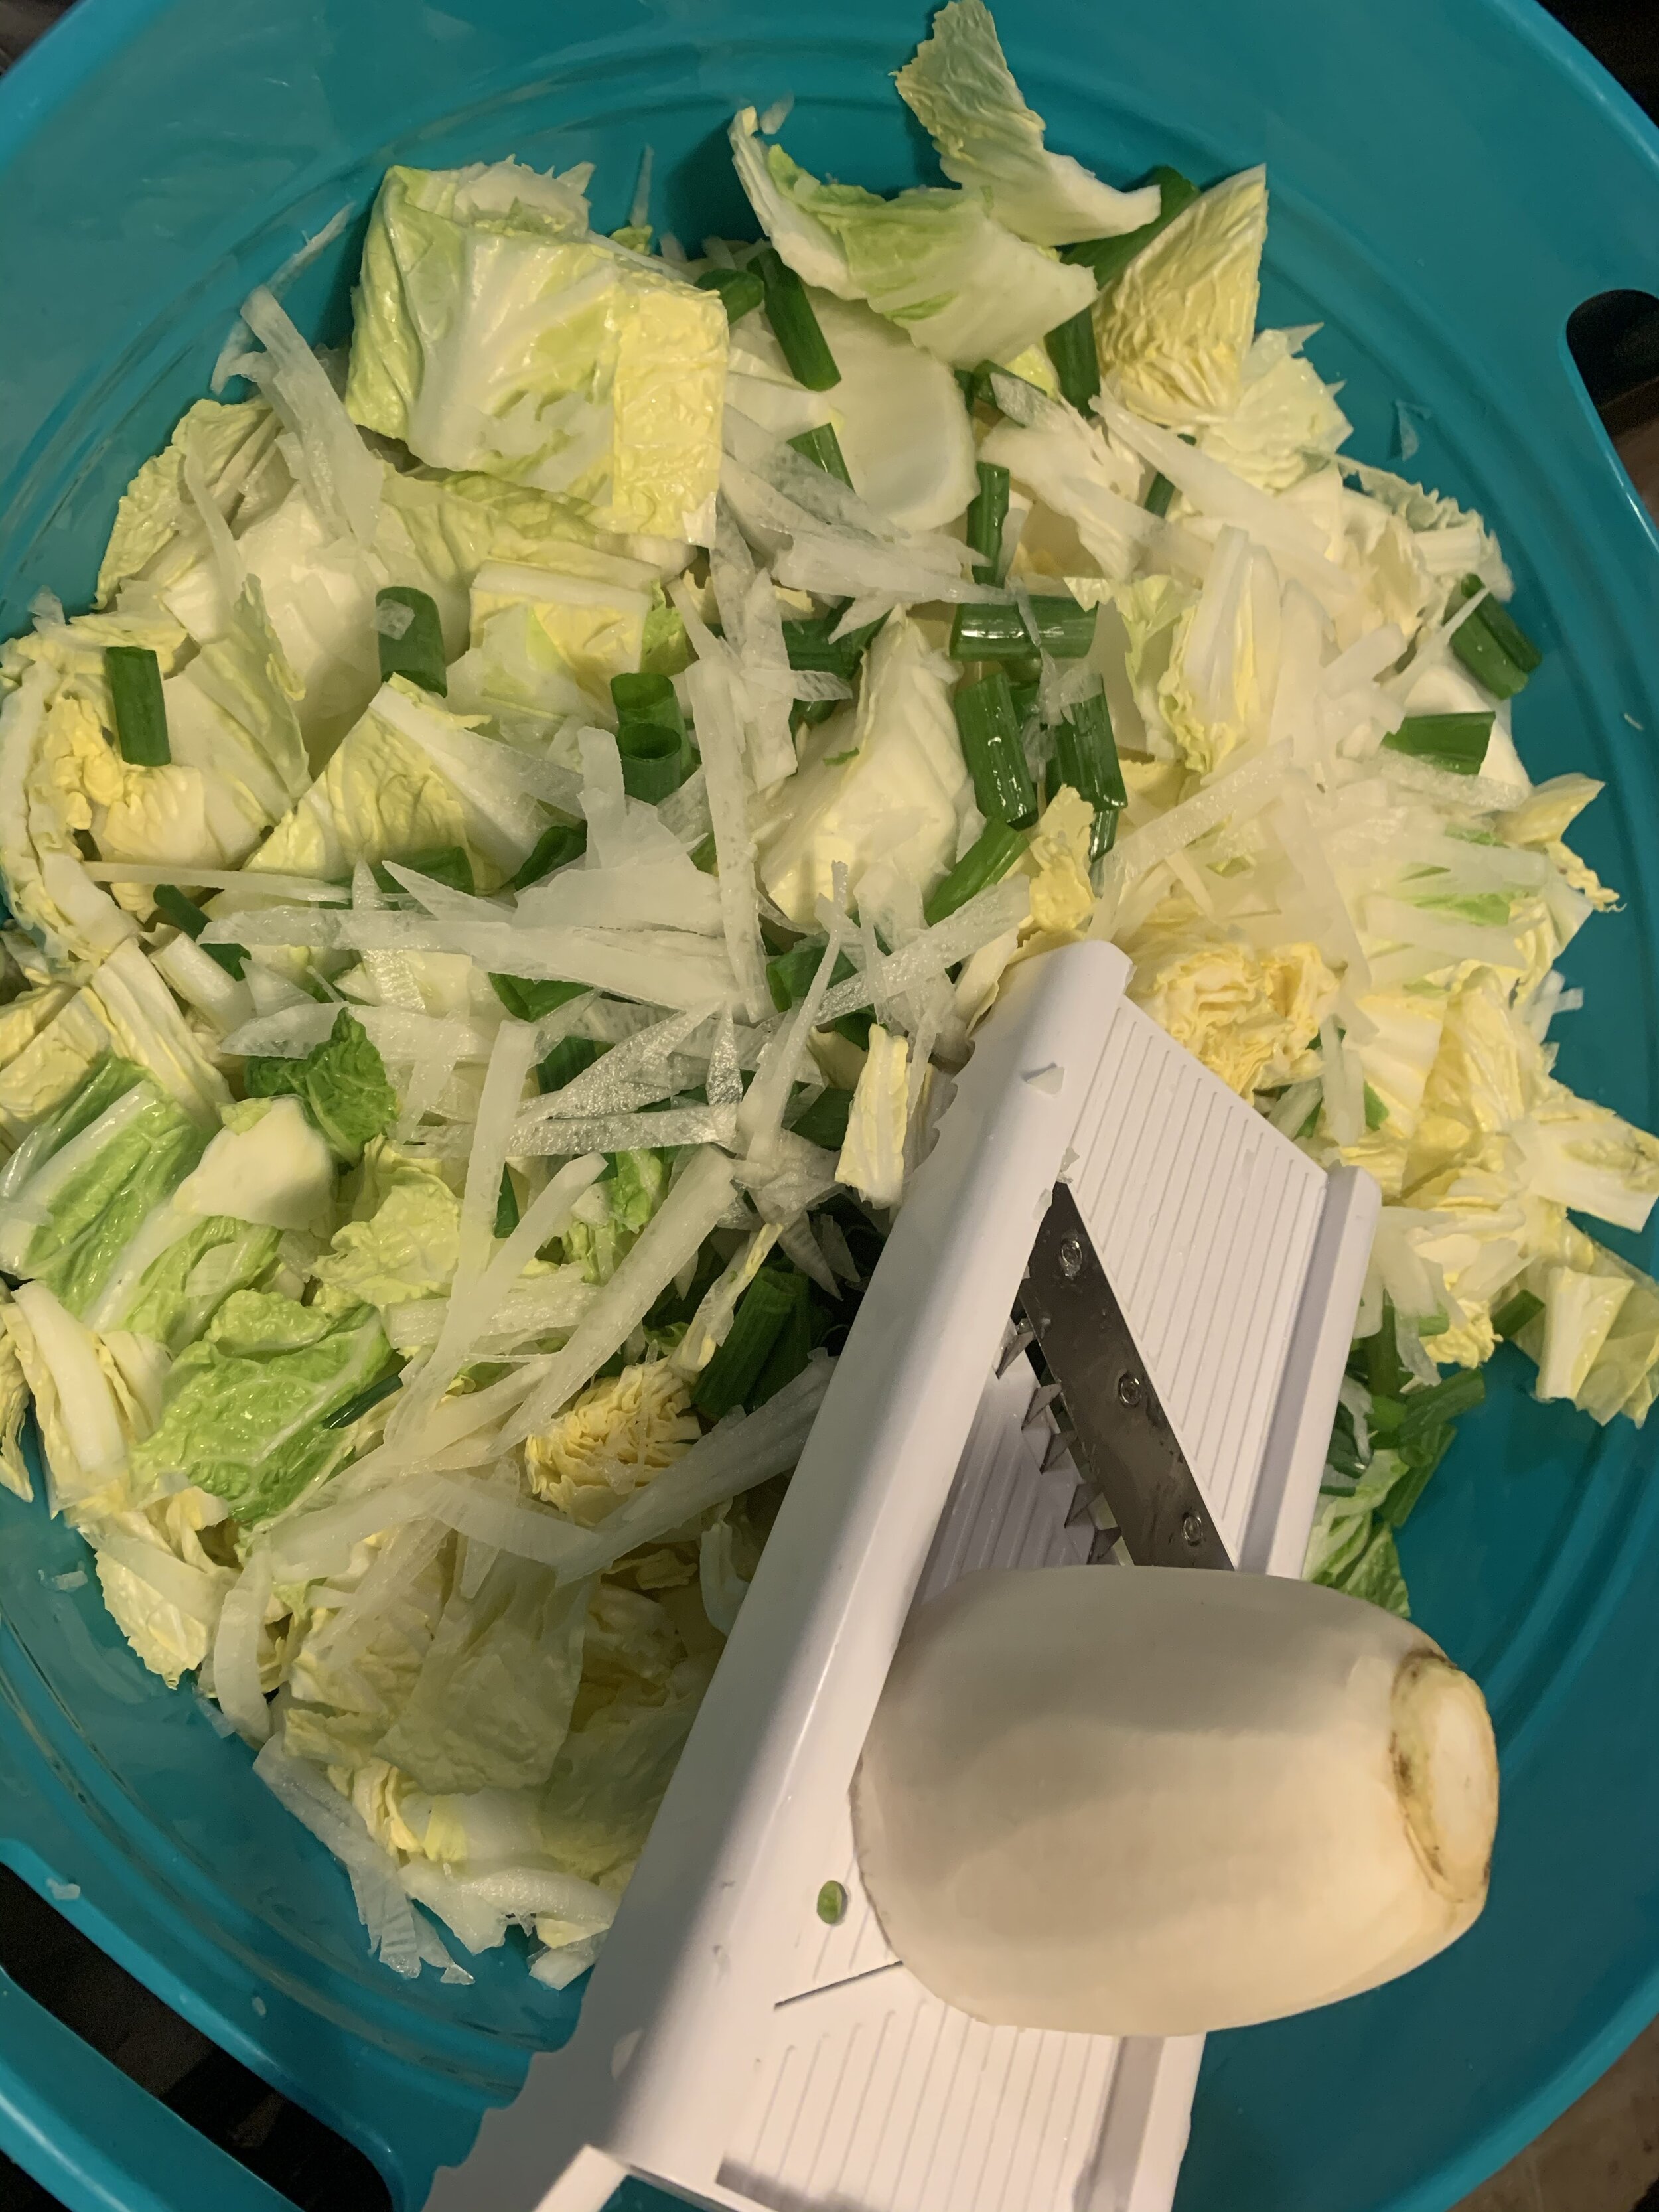
Place cabbage, daikon, and scallion greens in a large bowl and sprinkle with 2 tablespoons sea salt.
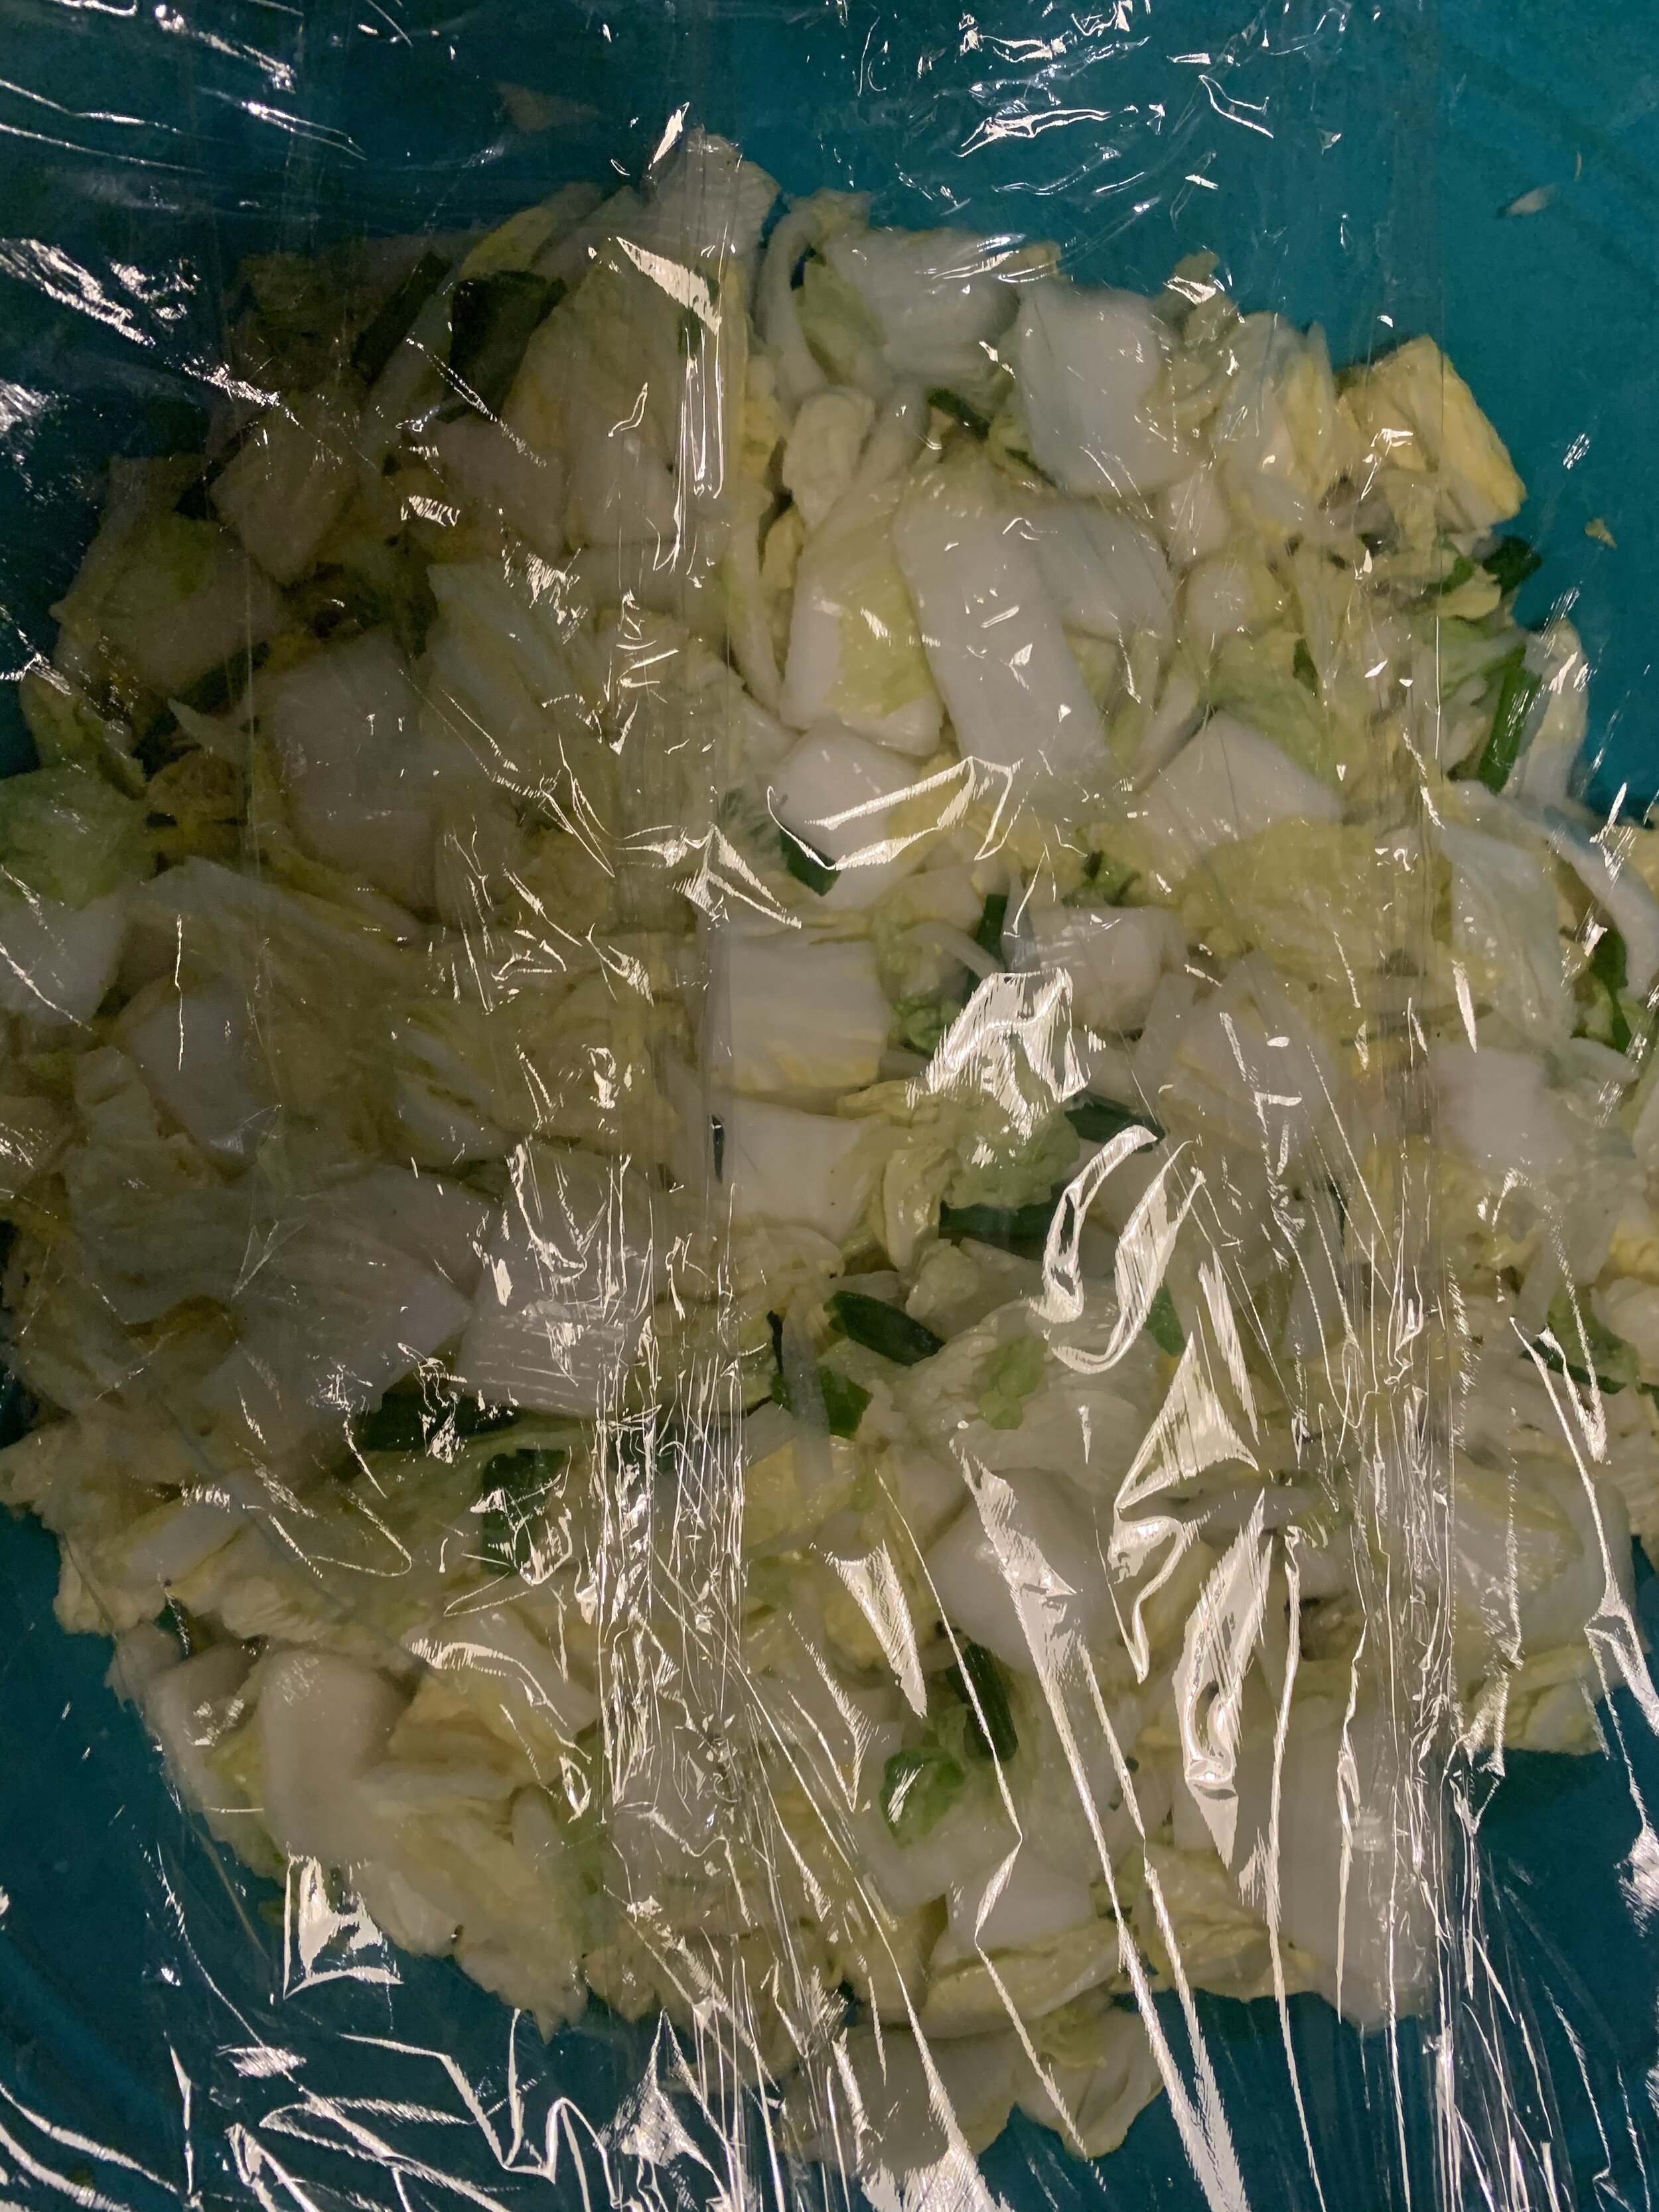
Toss to combine, cover, then let sit at room temperature until cabbage is wilted, at least 1 hour and up to 12 max. It should release about 1/4 to 1/2 cup liquid.
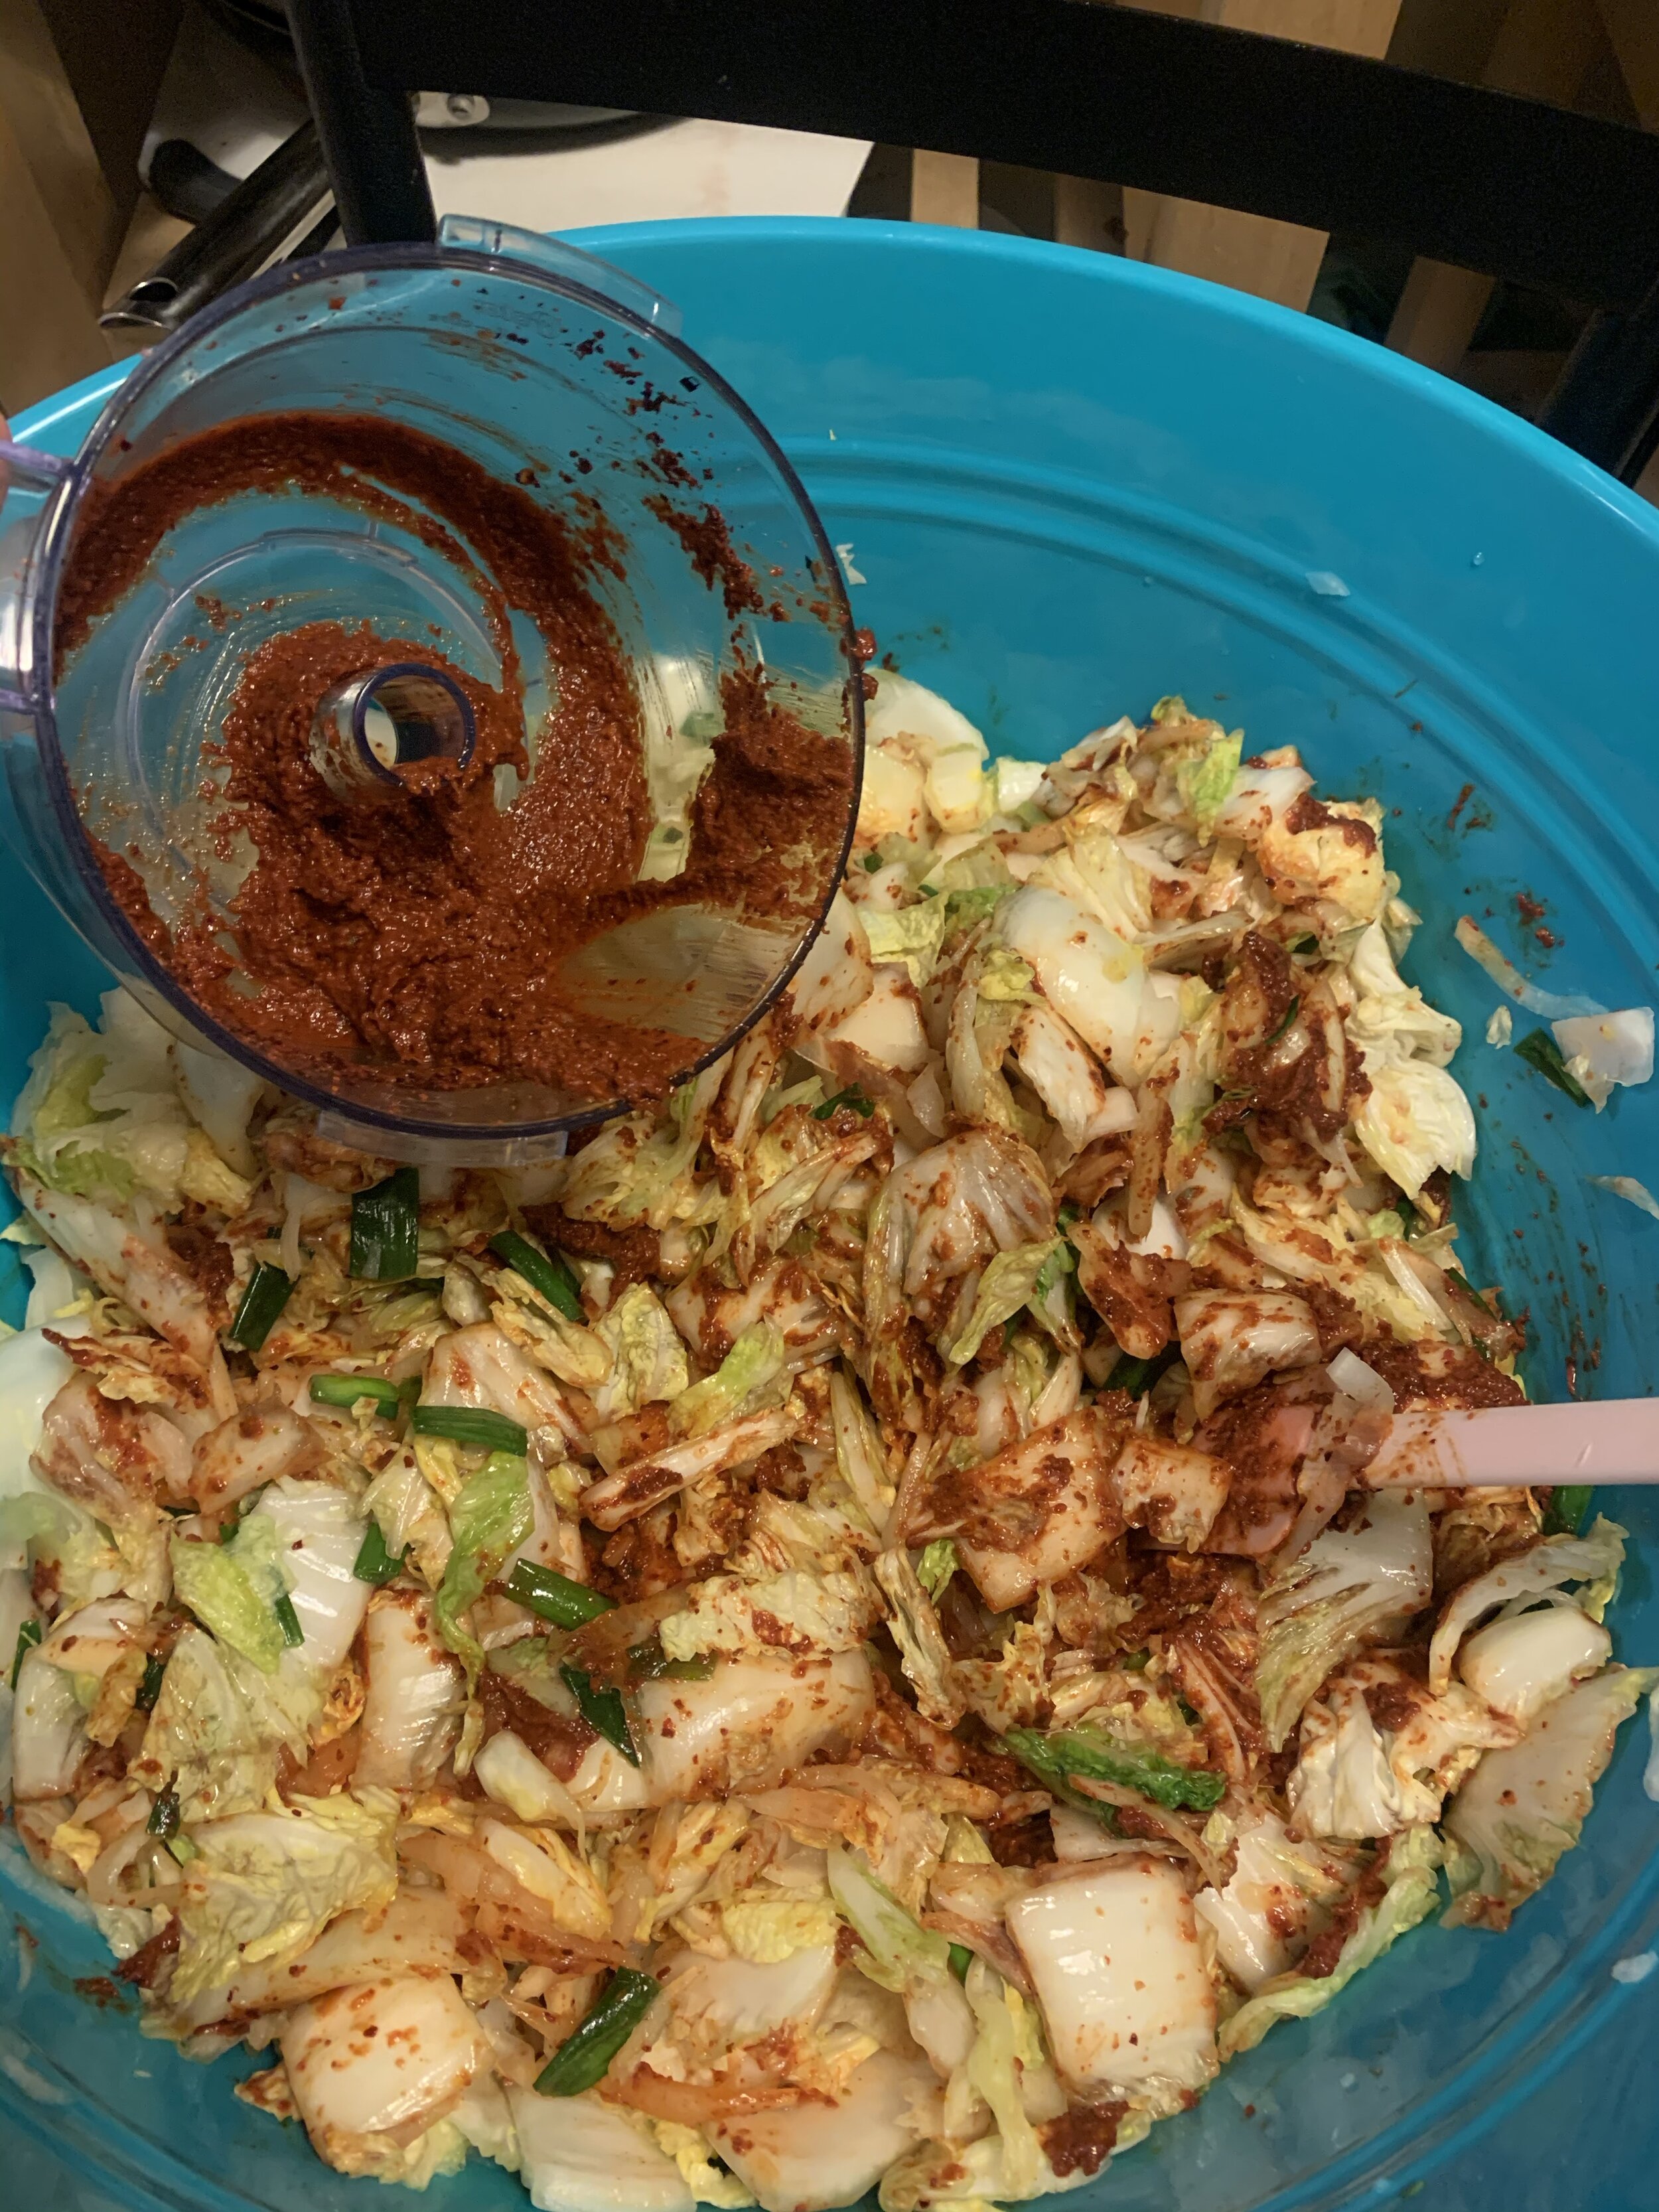
Meanwhile, combine scallion whites, garlic, ginger, chili powder, miso paste, and sugar in the bowl of a food processor or blender. Process until rough paste is formed.
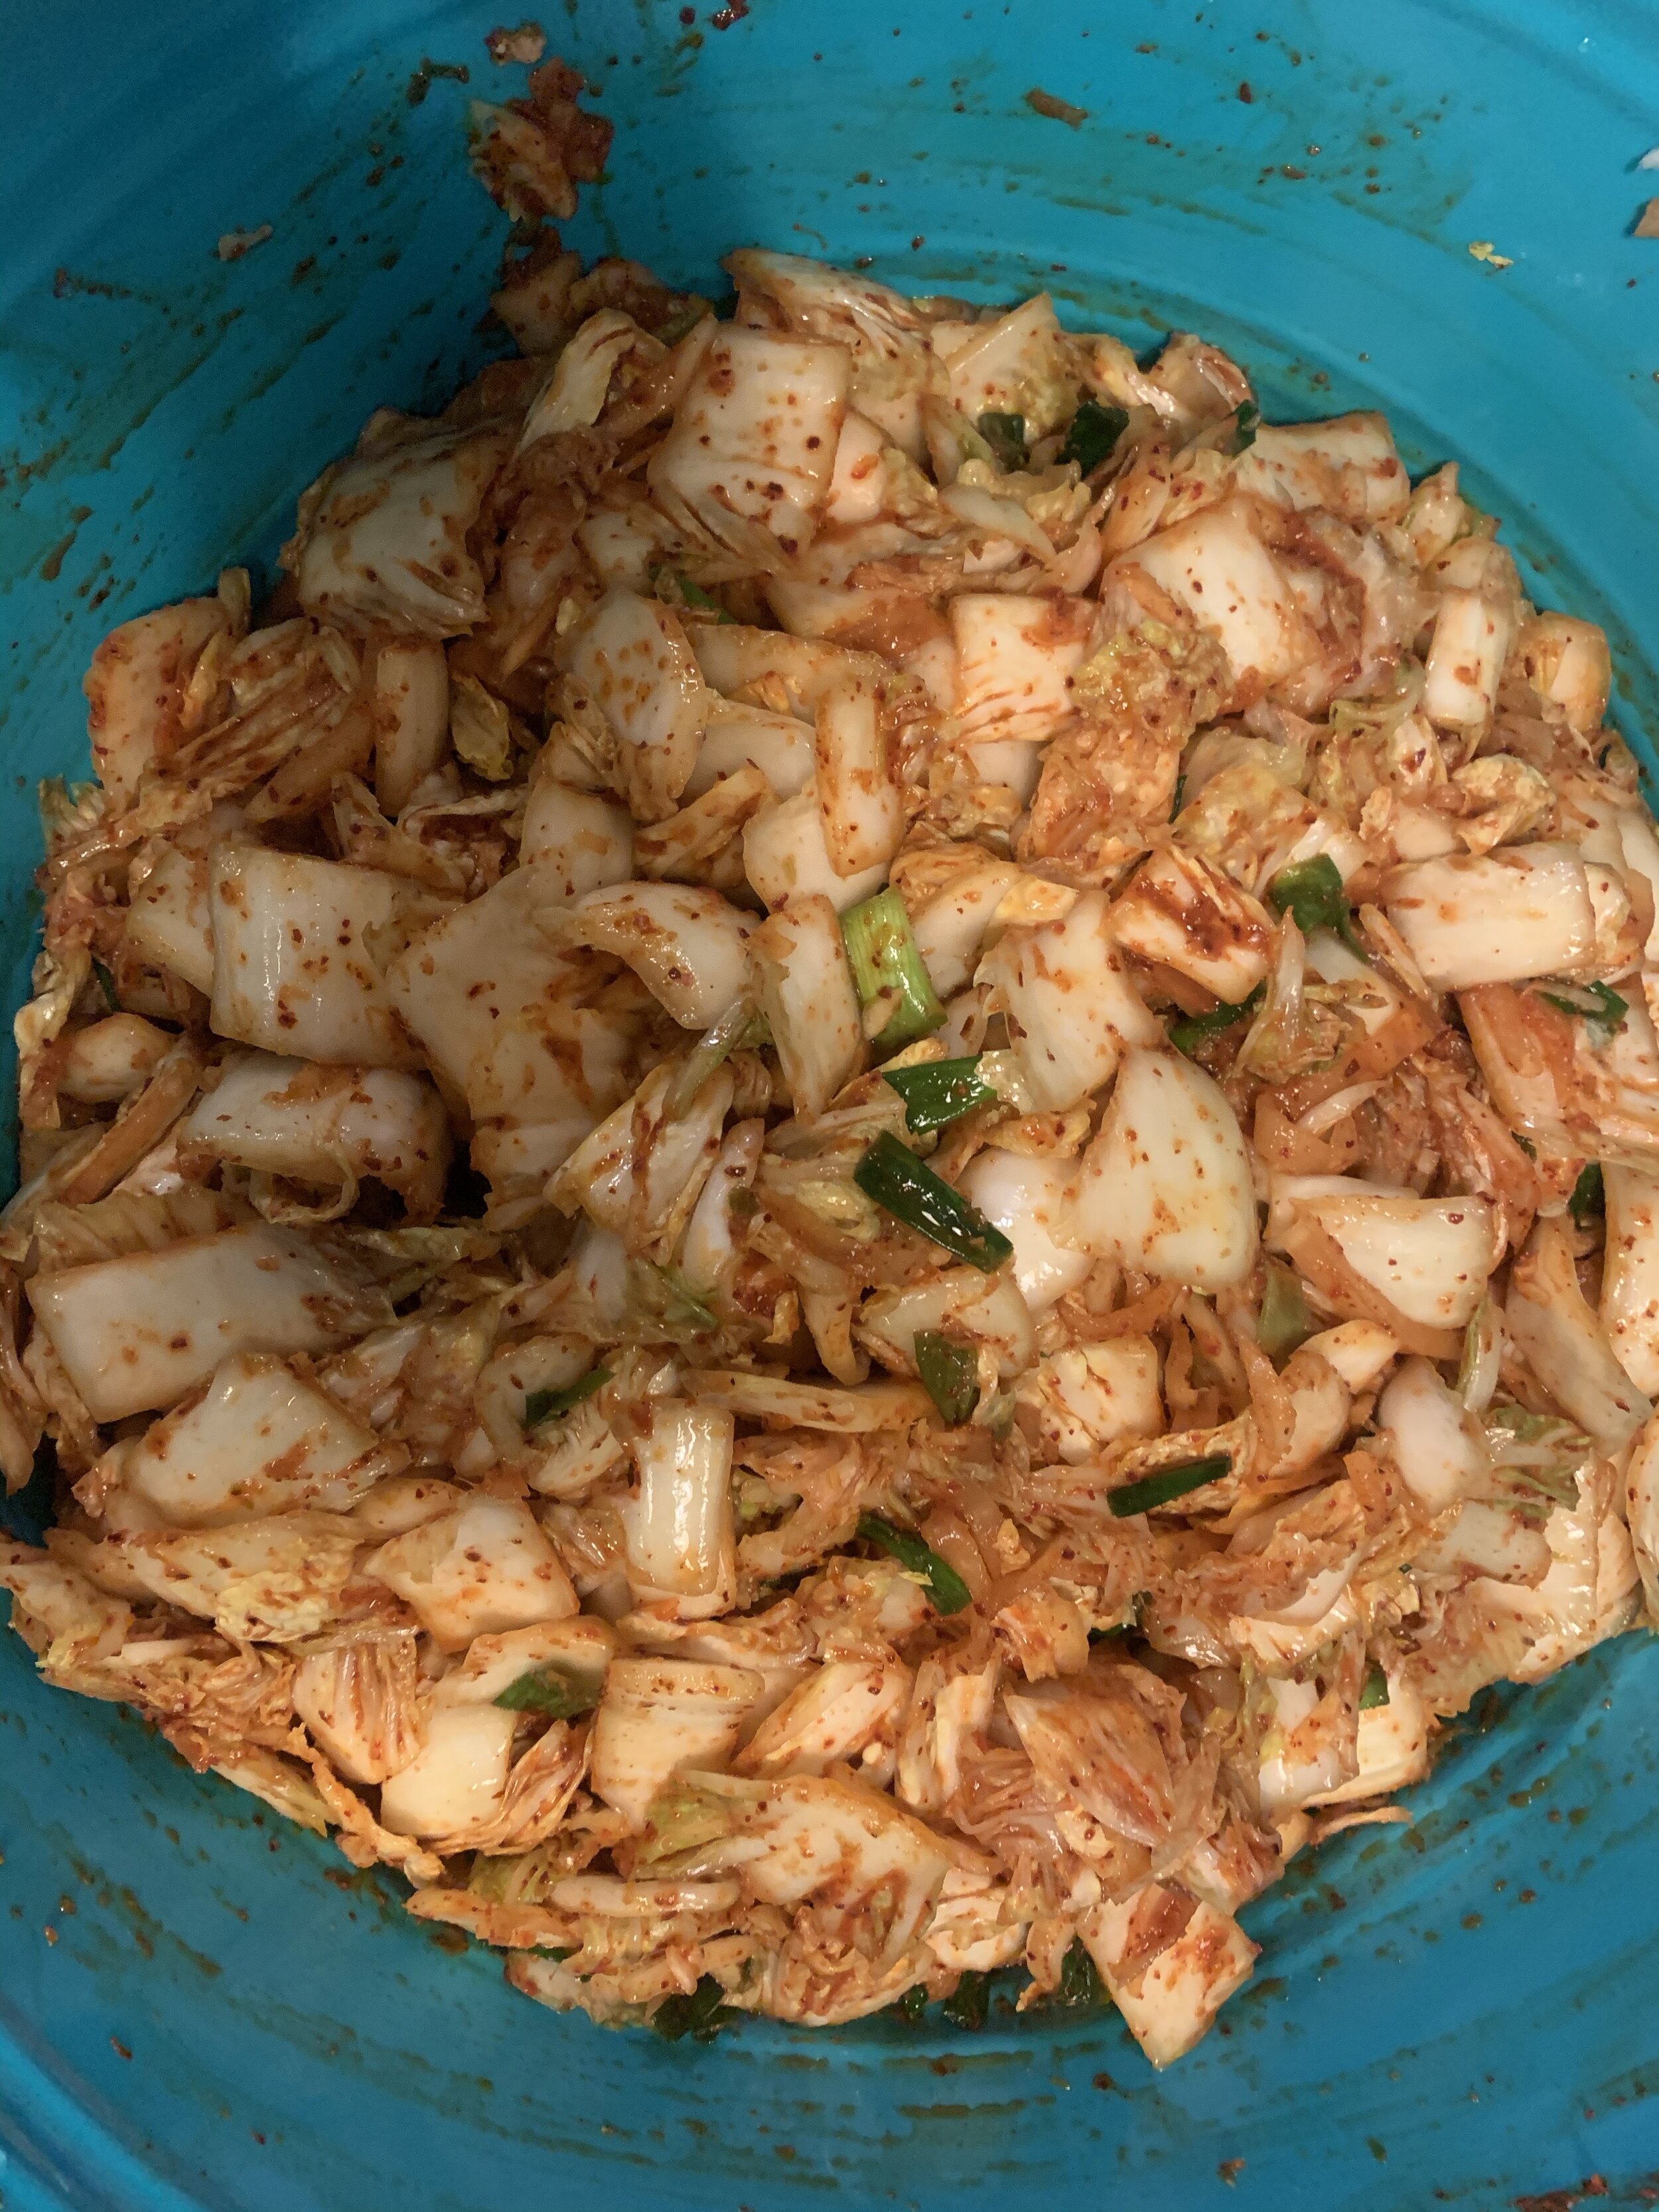
Once cabbage is wilted, add chili mixture and turn to coat.
Add 1 cup DEMINERALIZED water to mixture. Demineralized water will help you have a controlled ferment. Taste the liquid and add more salt as necessary (it should have the saltiness of sea water).
Pack kimchi into mason jars, pressing down firmly to pack tightly and using a chopstick to release any air bubbles trapped in the bottom of the jar.
Cover the kimchi with remaining liquid. It is important to allow a few inches of space so the kimchi can gas and push out oxygen from the ferment, OXYGEN IS THE ENEMY!
Seal the jars tightly and allow them to sit at cool room temperature for minimum 24 hours, then transfer to the refrigerator if you are using sealed jars.
Check every 24 hrs or so - if you need to release gas just give the lid a quarter turn – the pressure can build up enough to blow up a jar, and this happens often on first attempts.

The silicon gassing lids I’m using in the images, these are self-gassing gaskets which means I can allow for a more aggressive ferment, with these lids I will leave the kimchi for 4 days at room temperature and at this point it is PERFECT! The fermenting process is also worth reading more upon if you are unfamiliar, there will be a certain degree of trust in the process you will have to get used to if unfamiliar! But know the fact, that this has been a practice of preserving food long before electricity, pasteurization or any of the more modern familiarities of food preservation.
If you are transferring to the refrigerator after only a 24 hr. from the initial room temperature ferment – allow to ferment at least 1 week in the refrigerator before eating. Kimchi will last for up to 1 month after opening.
Again, it is worth acknowledging on final point the health benefits of kimchi and it is very worth reading further to get a better understanding of process as it is forgiving and there is literally 1000 ways+ to make kimchi. Enjoy!
TYSON BOYD


BELOW IS THE SONG THAT INSPIRED THE NAME…